
Why Weight Distribution Matters for 3D Printing
We wanted to do a follow up post to our beginners guide to placing supports with some examples of poorly placed supports and what that means for your models. We printed the same ring 3 different times with the supports placed in 3 different ways.
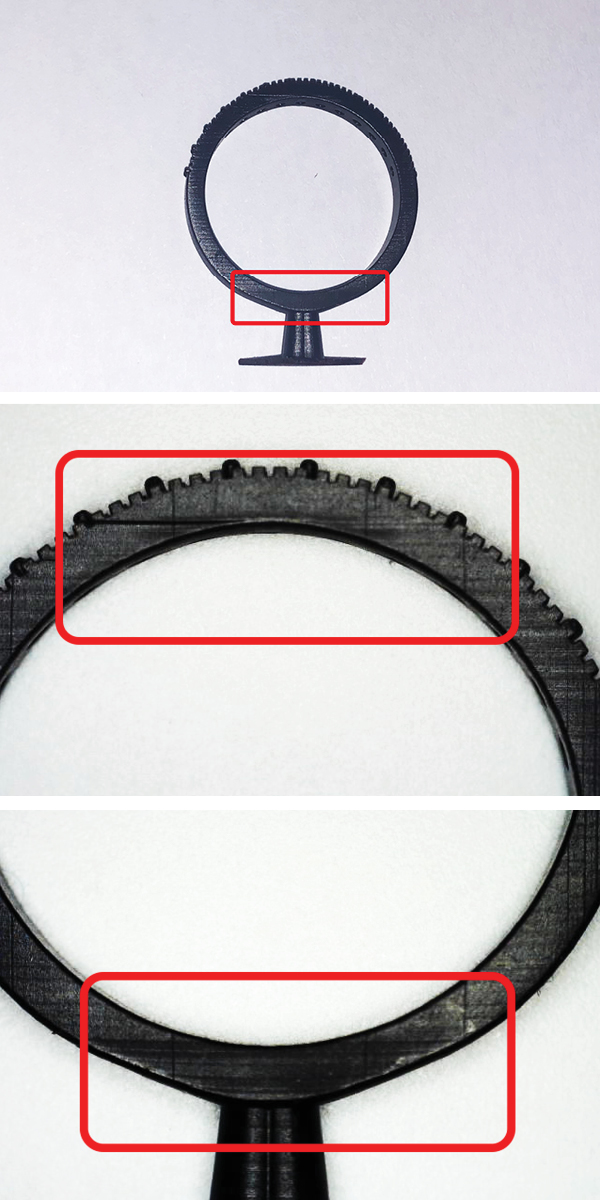
This model has one large support sprue at the bottom as its only support. This model is warped at the top and bottom of the ring. The sides of the ring are no longer perfectly circular and became angular due to the weight of the top of the ring pushing down on the bottom. If you can visualize someone holding wet dough or a water balloon how it moves between a person's fingers, it is the same effect happening here.
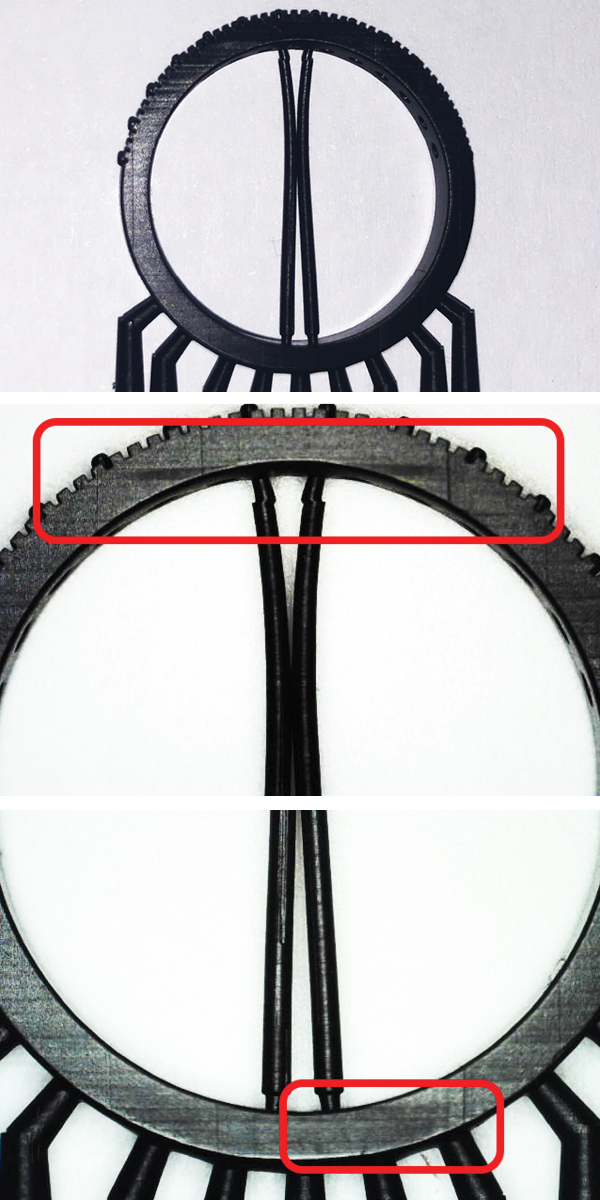
This one has vertical supports inside of the model and lower supports, but still suffers from the weight not being properly distributed along the bottom. The placement of the center supports is also not evenly distributed, so they are not very effective. Due to the the supports on the bottom being too far apart as well it has the same problems although not as bad as the first model on the lower half.
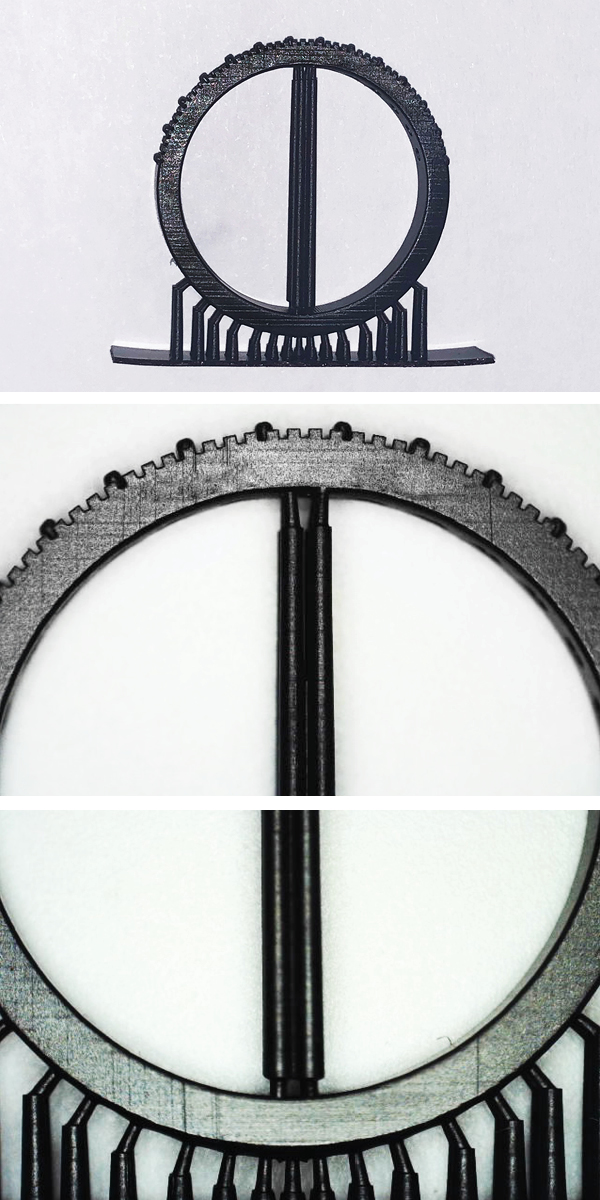
This model has supports evenly placed throughout the model along the inside and the bottom portion. It uses a variety of widths, and allows for the weight to be evenly distributed. This is the best way to print a model on a Tiger3D printer to make sure your print is as accurate as possible. By using more although smaller supports, we now have a perfectly round ring that is ready to be processed and eventually cast.
Support placement is ultimately about making sure the weight is being evenly distributed among the supports. Taking shortcuts with using larger supports will not work as well as using a greater quantity of smaller supports.
Comments
Leave A Reply
Your email address will not be published.